Here we describe a method for running an OSGeo-Live DVD or ISO in the VirtualBox Virtual Machine.
VirtualBox is an Open Source Virtual Machine which is used by many of the OSGeo-Live developers and testers.
- 5 Gig if running from ISO
- 17 Gig if installing locally from an ISO
Download and install Virtual Box. On linux do the following:
apt-get install virtualbox-ose
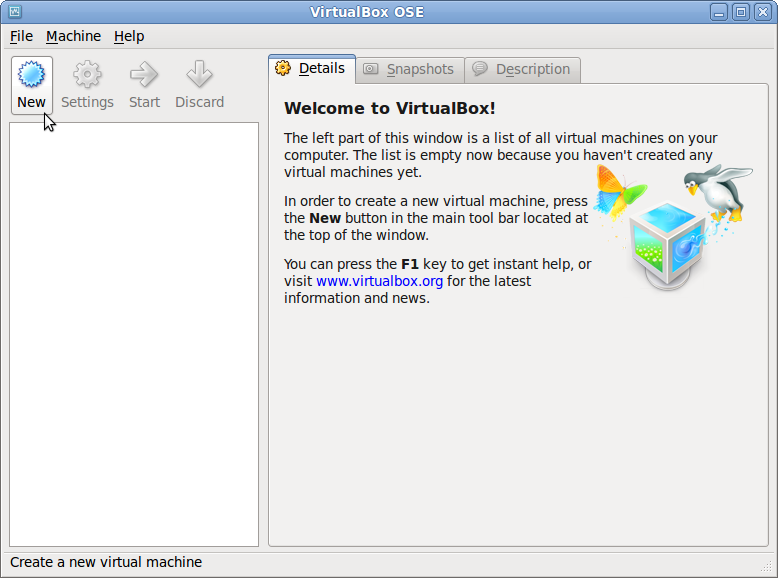
Open Virtual Box
Select “New” to create a new Virtual Machine.
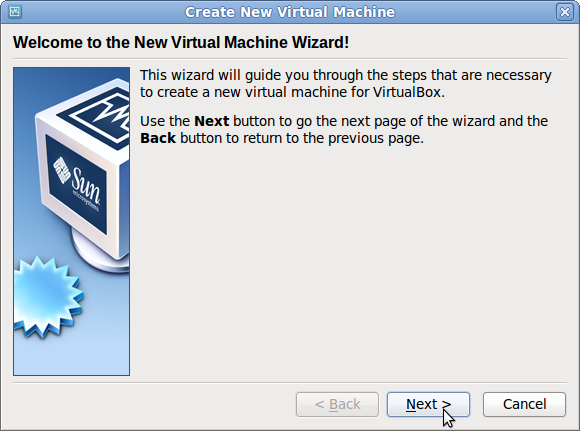
Select “Next”
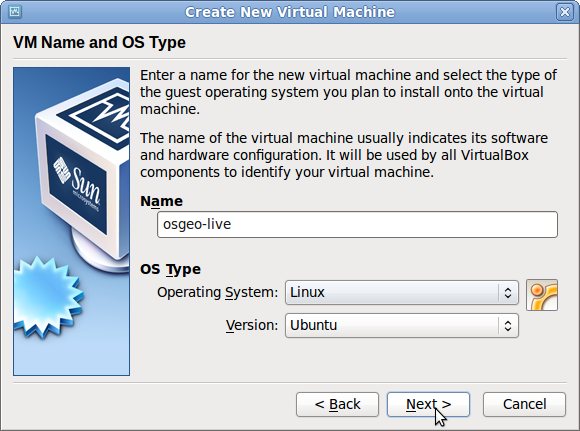
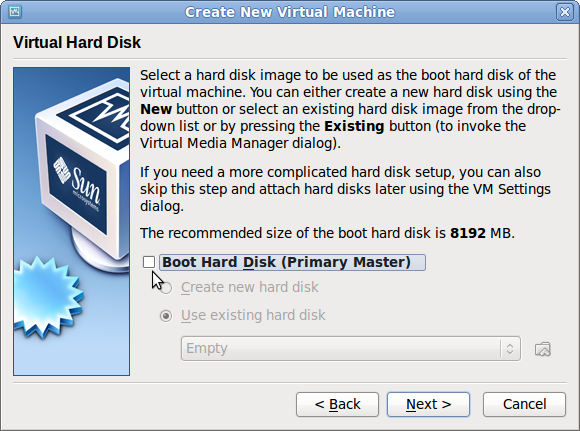
Set a name for the image, and select “Linux”, “Ubuntu”.
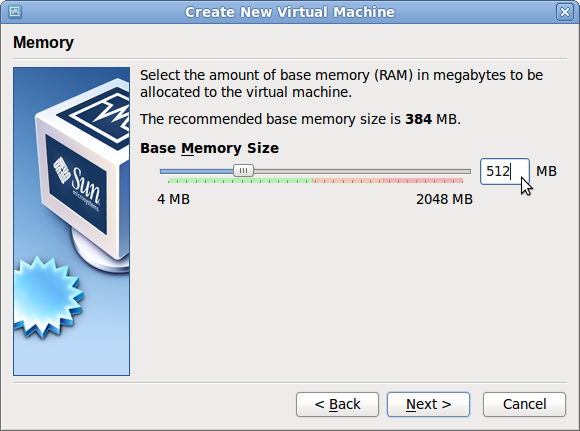
Set Base Memory to at least 512 MB.
Simple install: Deselect “Boot Hard Disk”, the Virtual Machine will always boot from an simulated DVD.
If you wish to have a persistent virtual machine, which stores state between sessions and which can have improved screen resolution settings and tools set, then include the hard disk, and install later.
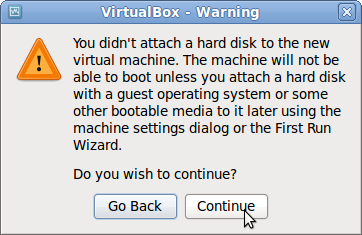
Select “Continue”
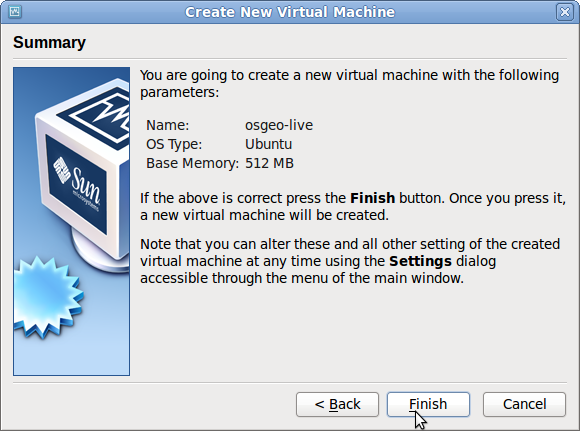
Select “Finish”
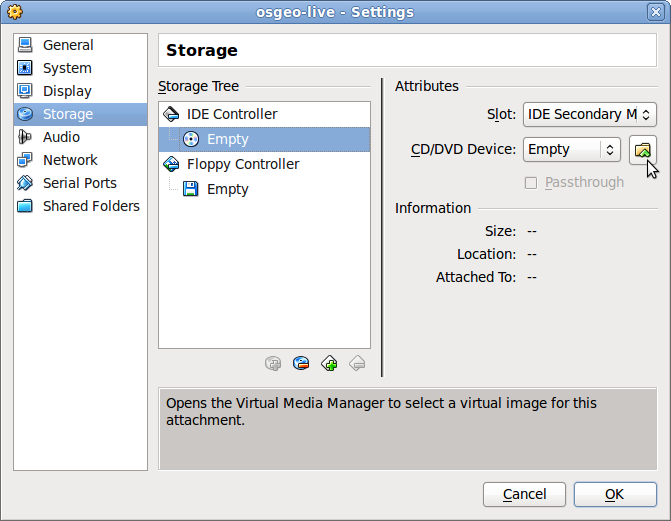
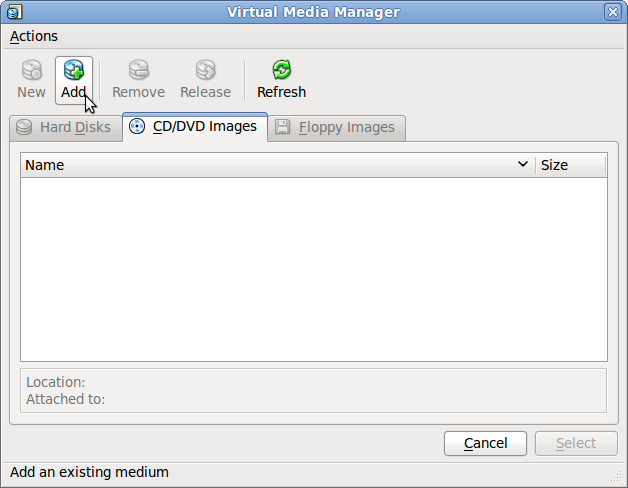
The image is now created, but we now need to simulate having an OSGeo-Live DVD in the CD drive.
Right click on the “osgeo-live” image, and select “Settings”.
Select “Storage”, CD/DVD Device, ...
Select the OSGeo-Live image.
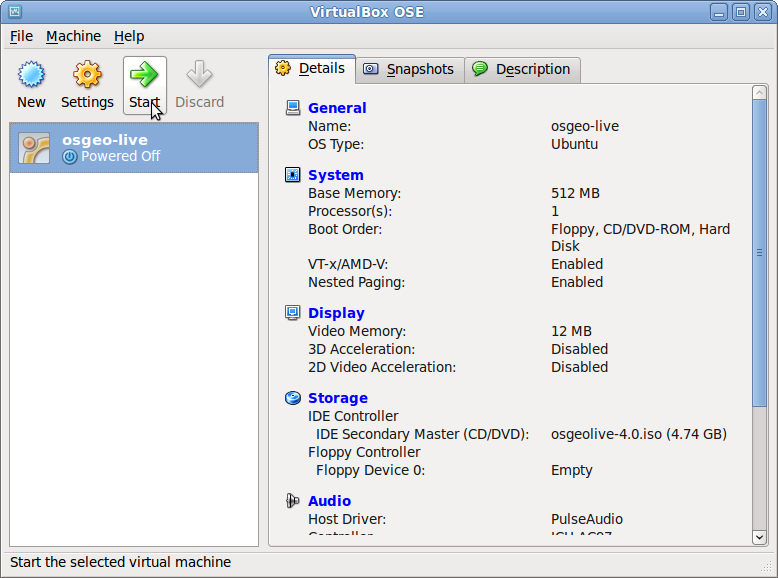
Now you can start the virtual machine as per the OSGeo-Live Quickstart
If you plan to use the OSGeo-Live DVD a lot, you will likey want to create a permanent virtual machine, as per: Install OSGeo-Live to Hard Disk.
You can then add the virtual boots tools which support higher screen resolution support, copy and past between guest and host, graphics acceleration, and more.
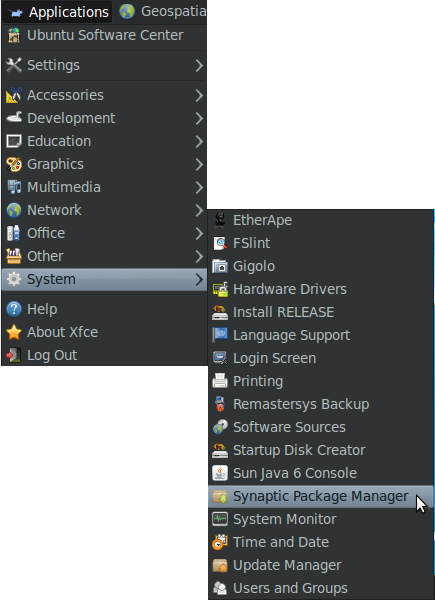
Make sure you’re computer is connected to the internet.
Select the synaptic package manager application.
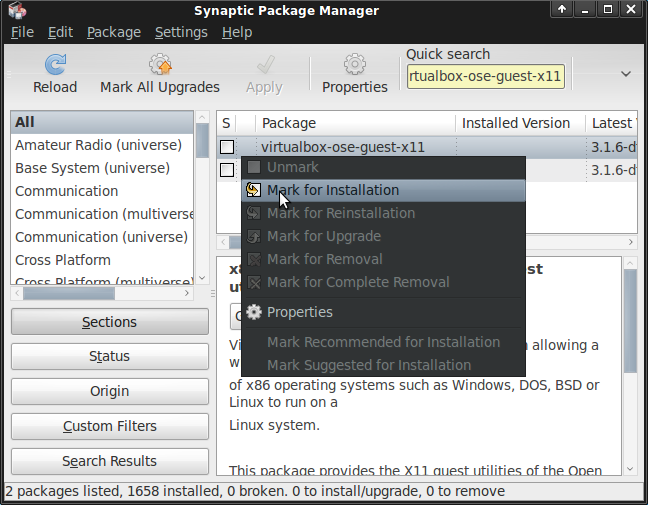
Enter password = “user”
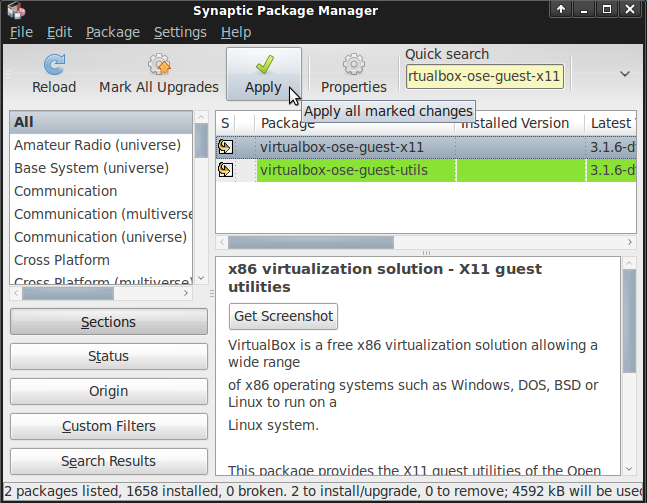
Mark “virtualbox-ose-guest-utils” for installation.
Apply the changes.
Reboot the virtual machine and the display settings should match your host computer’s display settings. These can be changed via:
Select: Applications -> Settings -> Xfce 4 Settings Manager -> Display